特に国内向けストアだとご要望として多いのが「パンくずリスト」ですよね。
商品数やカテゴリが多い場合には確かにあると便利ですが、Shopifyのテーマでは基本的にデフォルトでは対応していません。
そこで今回は、Shopifyでパンくずリストを自力で実装する方法をご紹介します。
一番基本のパンくずリストの作り方
基本となるパンくずリストの作り方は、Shopifyの公式サイトでも紹介されています。
https://shopify.dev/tutorials/customize-theme-add-breadcrumbs
「breadcrumbs.liquid」みたいなスニペットを作って、以下のコードをコピペすればOKです。
{% unless template == 'index' or template == 'cart' or template == 'list-collections' %}
<nav class="breadcrumb" role="navigation" aria-label="breadcrumbs">
<a href="/" title="Home">Home</a>
{% if template contains 'page' %}
<span aria-hidden="true">›</span>
<span>{{ page.title }}</span>
{% elsif template contains 'product' %}
{% if collection.url %}
<span aria-hidden="true">›</span>
{{ collection.title | link_to: collection.url }}
{% endif %}
<span aria-hidden="true">›</span>
<span>{{ product.title }}</span>
{% elsif template contains 'collection' and collection.handle %}
<span aria-hidden="true">›</span>
{% if current_tags %}
{% capture url %}/collections/{{ collection.handle }}{% endcapture %}
{{ collection.title | link_to: url }}
<span aria-hidden="true">›</span>
<span>{{ current_tags | join: " + " }}</span>
{% else %}
<span>{{ collection.title }}</span>
{% endif %}
{% elsif template == 'blog' %}
<span aria-hidden="true">›</span>
{% if current_tags %}
{{ blog.title | link_to: blog.url }}
<span aria-hidden="true">›</span>
<span>{{ current_tags | join: " + " }}</span>
{% else %}
<span>{{ blog.title }}</span>
{% endif %}
{% elsif template == 'article' %}
<span aria-hidden="true">›</span>
{{ blog.title | link_to: blog.url }}
<span aria-hidden="true">›</span>
<span>{{ article.title }}</span>
{% else %}
<span aria-hidden="true">›</span>
<span>{{ page_title }}</span>
{% endif %}
</nav>
{% endunless %}簡単にコードの説明
基本的にやっていることは非常にシンプル。
最初に「HOME」を出しておいて、
{% if template contains ‘page’ %} = もし固定ページのテンプレートだったら、
{{ page.title }} = ページのタイトルを出力します
もし商品詳細ページだったら・・・
もしブログページだったら・・・
というのを条件ごとに繰り返し書いているだけです。
これだと多階層のメニューが表現できない
上記のコードで対応できるのはこんな感じのメニュー。
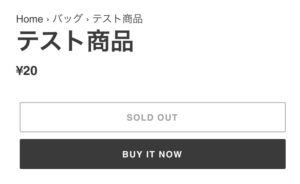
Catalog > バッグ > テスト商品
までは対応できますが、
Catalog > バッグ > レザーバッグ > テスト商品
など、カテゴリ部分の階層が分かれると「バッグ」か「レザーバッグ」のどちらかしか表示をすることができません。
シンプルなストアならこれで問題ないと思いますが、例えばメガメニューがあるような商品数の多いストアの場合はどうしたら良いのでしょうか?
そんな時に使えるのが「linklists」という仕組みです。
linklistsを使って階層のあるメニューを表現しよう!
link objectに関する説明は以下にあります。
https://shopify.dev/docs/themes/liquid/reference/objects/link
めちゃくちゃざっくり説明すると、Shopifyの管理画面で「メニュー」に登録されている内容を取得して表示してくれる仕組みです。
例えばこんな感じのメニューがあるとします。
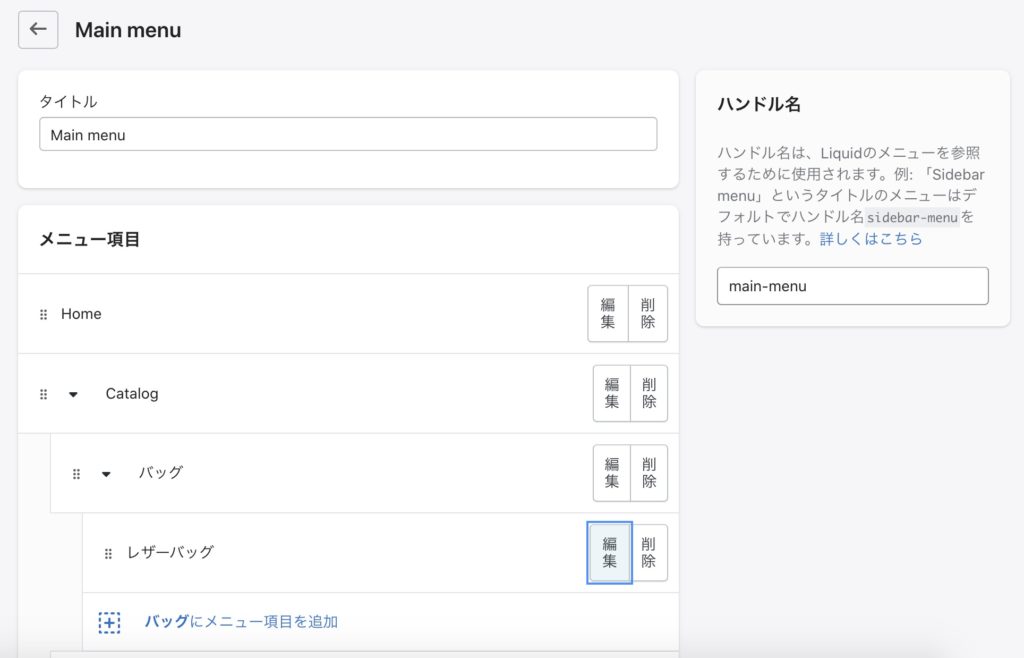
以下のコードをパンくずリストを表示したいところに埋め込みます。
{% assign menu = linklists.main-menu %}
<a href="/">Home </a>
{% for link in menu.links %}
    {% if link.active or link.child_active %} <a href={{link.url}}> > {{ link.title }}</a> {% endif %}
  {% for sub_link in link.links %}
    {% if sub_link.active or sub_link.child_active %}> <a href={{sub_link.url}} > {{ sub_link.title }}</a> {% endif %}
	{% for sub_sub_link in sub_link.links %}
    {% if sub_sub_link.active %} > <a href={{sub_sub_link.url}} > {{ sub_sub_link.title }}</a> {% endif %}
	{% endfor %}
  {% endfor %}
{% endfor %}
するとこんな感じで表示されるはずです。
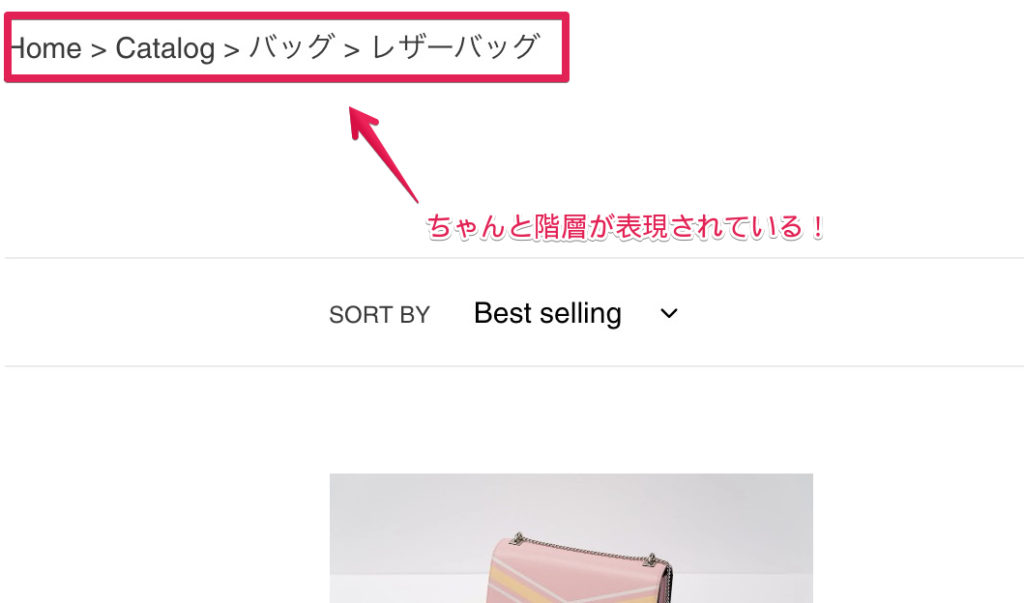
ちゃんと下の階層も含めてパンくずリストが表示されています。
あとは商品詳細ページの場合、for文の最後に
> <a href="{{product.url}}">{{product.title}}</a>とでも追加してあげれば良いでしょう。これで商品名も含めてパンくずリストが表示されるはずです。
簡単にコードの説明
1行目の {% assign menu = linklists.main-menu %} で、どのメニューを参照するのか?を決めています。(今回の場合、ハンドルが「mein-menu」のメニューを参照)
あとは、link > sub_link > sub_sub_linkの形で、1~3階層目の情報を取得して出力している感じです。
まとめ
今回は基本的なパンくずリストの作り方についてご紹介しました。
そこまで複雑でないストアならこの記事のコードとその応用で十分対応ができると思います。
また、パンくずリストを作ってくれる以下のようなアプリもあるので、コードをいじるのが難しいよーという方は導入を検討してみても良いかもしれません。
https://apps.shopify.com/category-breadcrumbs-uncomplicated?locale=ja
・基本のパンくずならコピペでもOK
・多階層のパンくずリストを実装する場合はlinklistsを使う
もっと複雑だったり、コードの編集が難しい場合はアプリを使う
